")
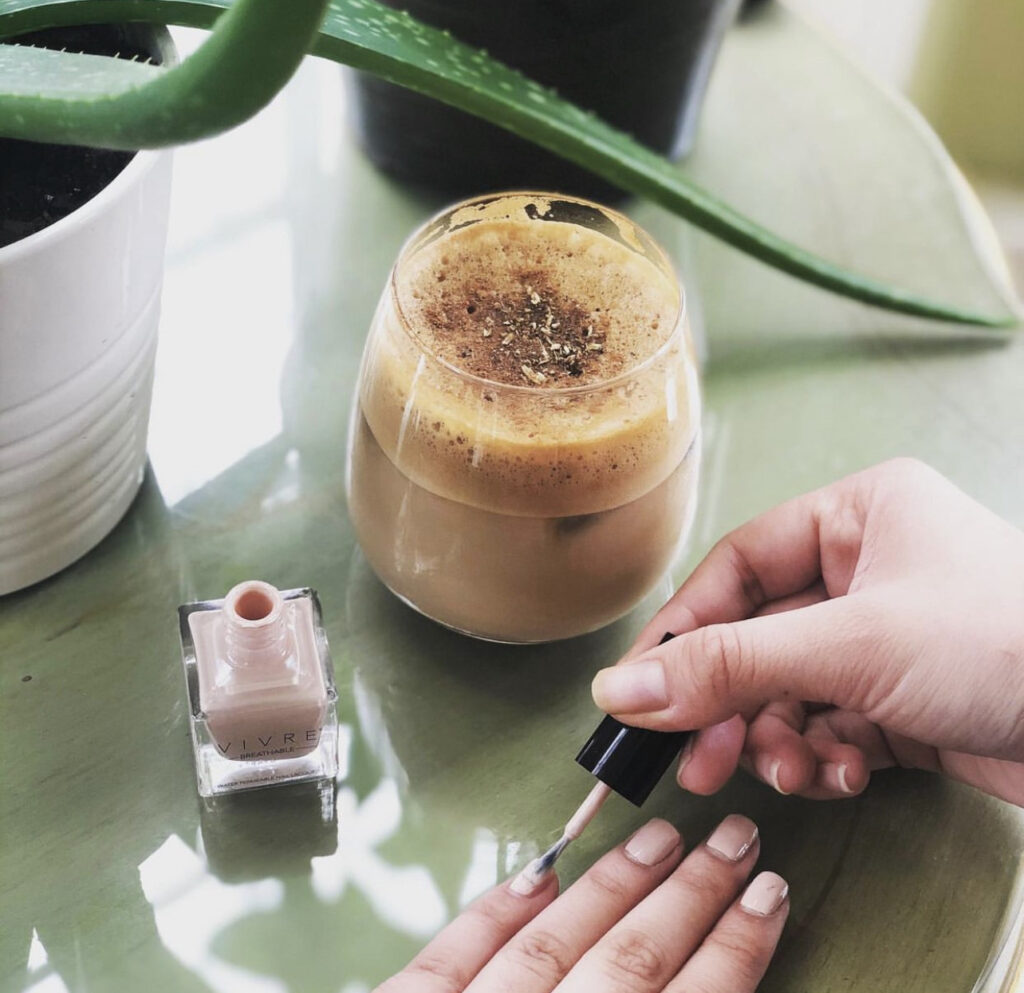
Learning how to do your nails at home is an exciting process, and it will save you a ton of money. It’s also a great way to unwind after work or on the weekends. Doing your nails, yourself doesn’t have to be difficult or time consuming, but it does require some equipment and supplies.
Even if you’re devoted to DIY nails, it can be hard to get the same results at home that you’re used to getting in a salon. Between chipping, warping, and smudging, a lot can go wrong. Especially if you’re a beginner. Follow the steps below to get a salon worthy mani.
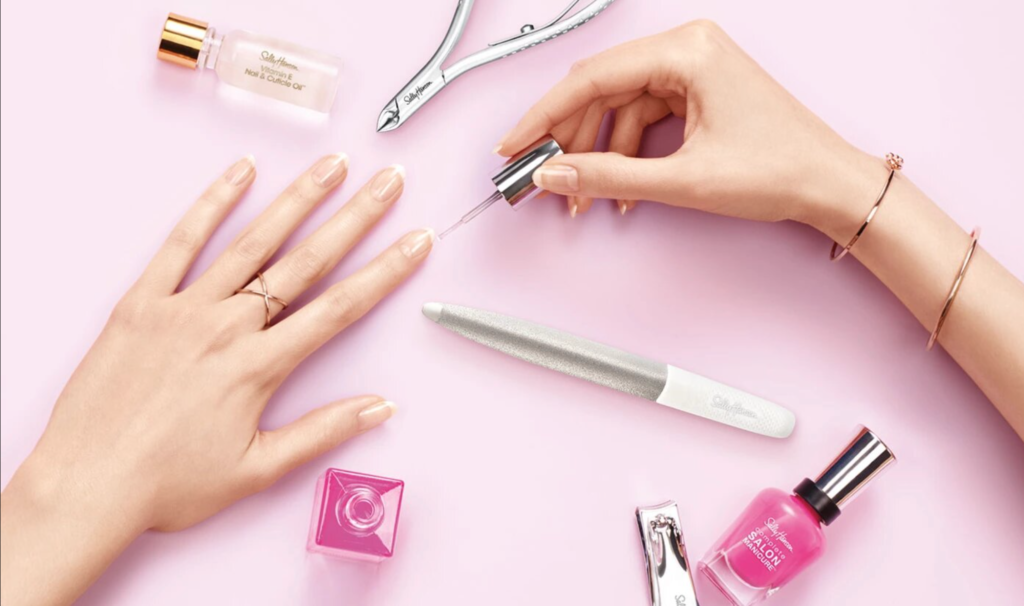
Step 1: Clean your nails with Nail Polish Remover
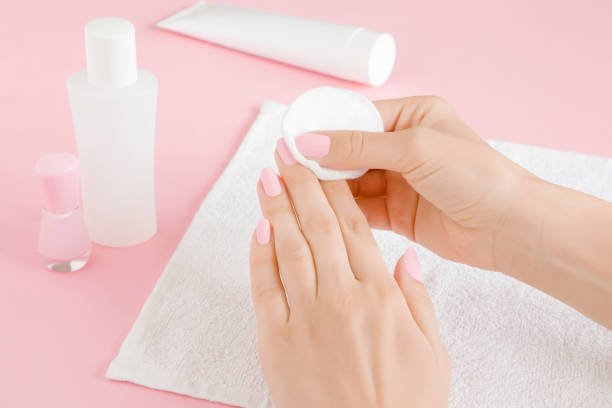
It is important to prep your nails before you get started on your manicure. It is exactly like a skincare or hair care routine where you prep first before you start. Start with a good nail polish remover that removes everything and has essential nutrients to help strengthen your nails and moisturize your cuticles. A perfect example is Sally Hansen’s Nail polish remover.
Step 2: Clip, file, and buff
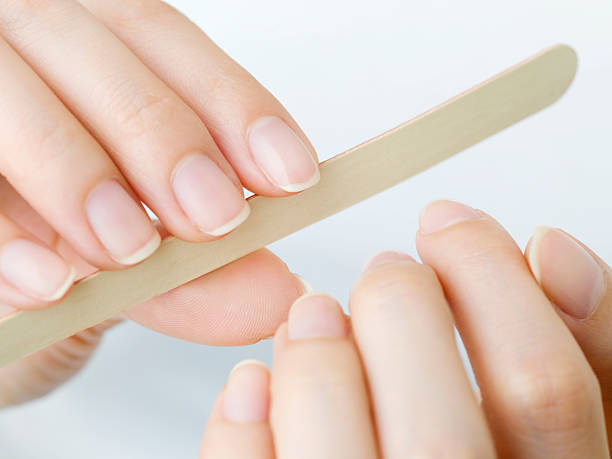
It is important to clip your nails first, after which you file gently moving in one direction to get your tips square, round, or somewhere in between. To prevent overfilling, hold the file flush to your nail and tilt it so you file from slightly underneath. Finally, buff the tops and sides of your nails lightly with a nail buffer to create a smooth surface.
Step 3: Push back your Cuticles

Prep your cuticles with a cuticle remover to help dissolve dead skin and soften the area. Cuticle removers are an exfoliating treatment for your nail beds, it is not the same as cuticle oil! Your cuticles protect your nails from bacteria and keep them soft, so avoid cutting them.
Step 4: Exfoliate your Hands
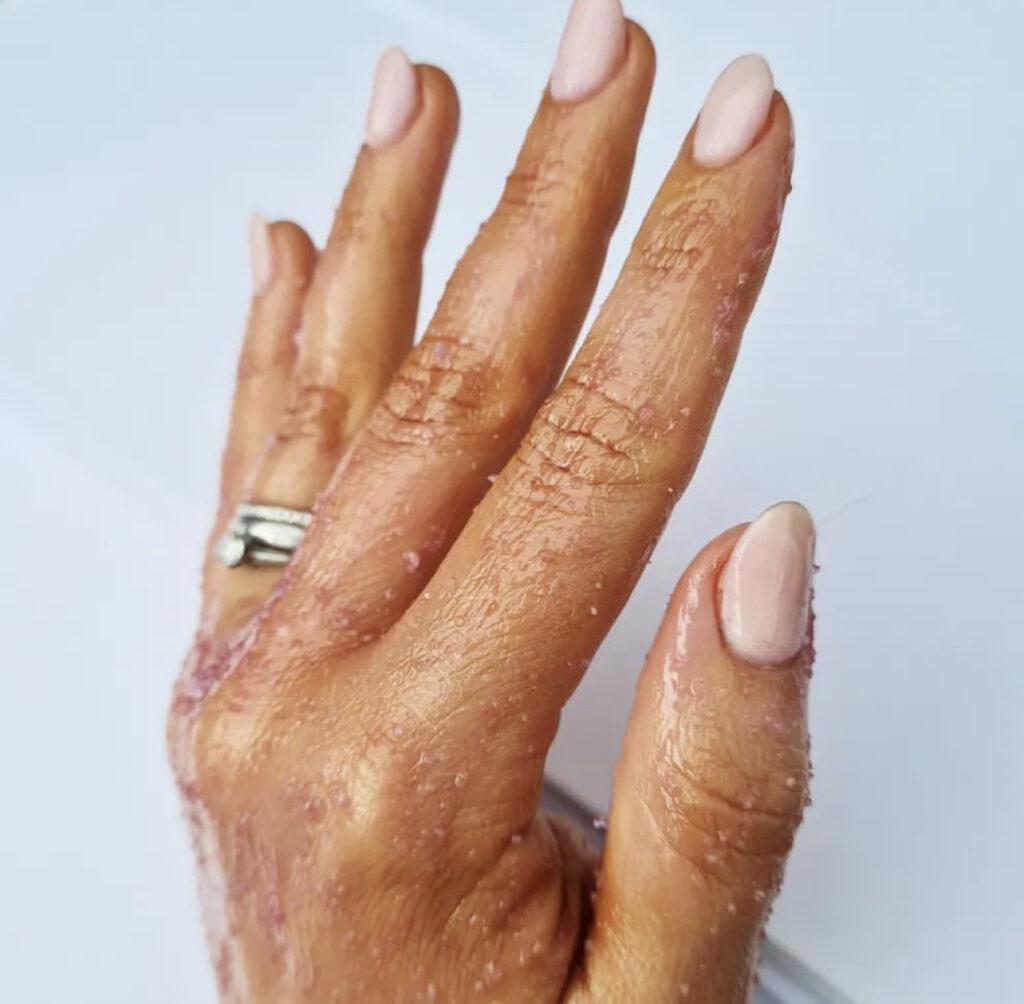
Exfoliate your hands, wrists and forearms with a scrub that eliminates dead skin and replenishes moisture.
Step 5: Moisturize your hands and cuticles
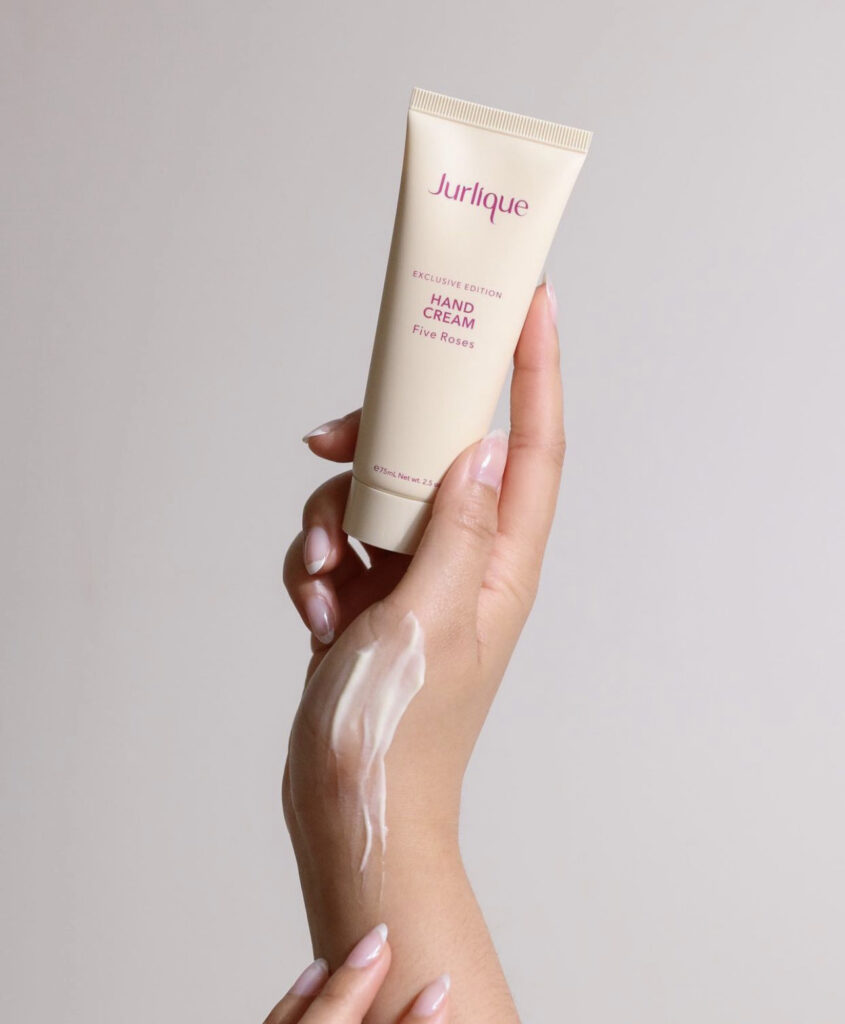
Moisturize your hands to avoid smudging your nail polish later. When moisturizing, take the opportunity to give yourself a mini hand massage. To finish, swipe each nail with nail polish remover to get rid of residue.
Step 6: Apply a Base Coat
Apply a base coat to hydrate and protect your nails and prevent chipping.
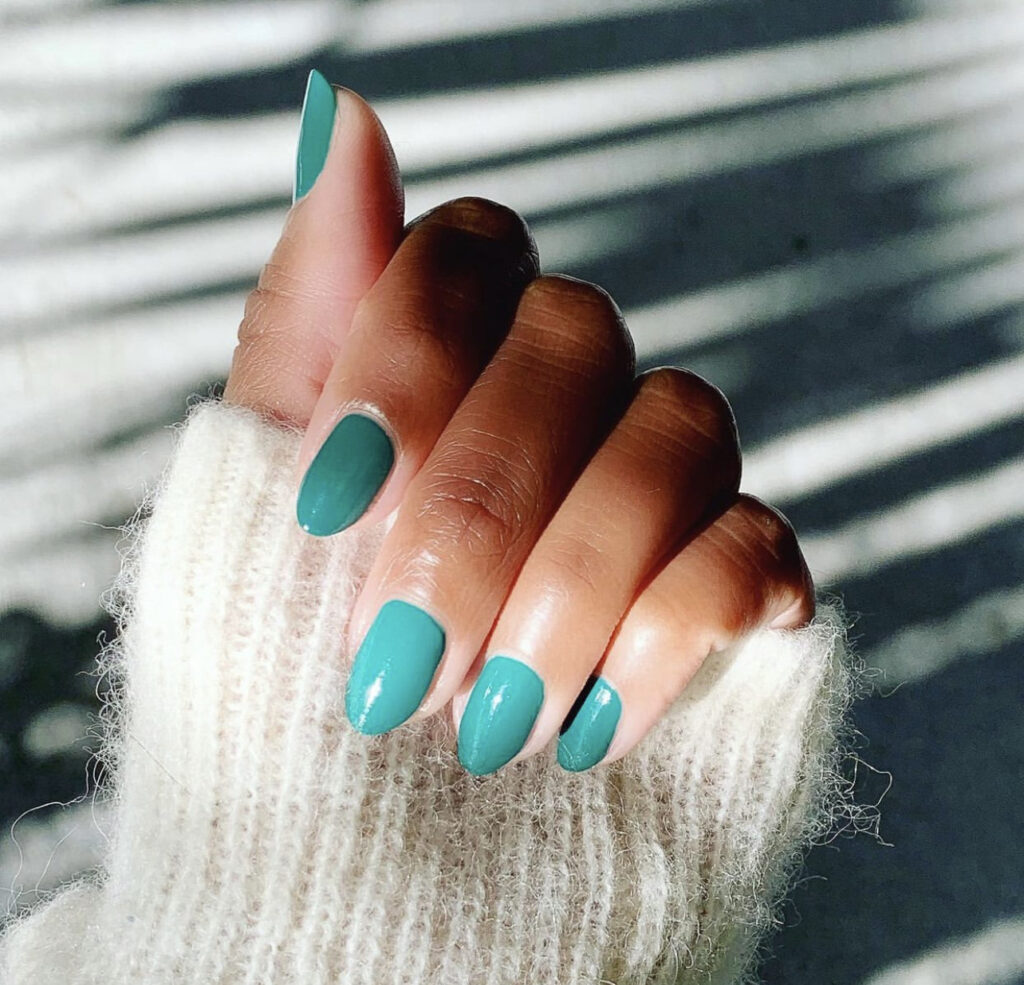
Step 7: Apply your First Coat of Color
Apply your coat of color of choice. Be sure to get the brush all the way down to the cuticle and into the corners of the nails. Make sure to keep the layer thin but cover the entire nail
Step 8: Apply your second coat of color
After 2 minutes, apply the second coat of nail polish and make sure to keep it thin as well.
Step 9: Finish with a topcoat
A topcoat protects your manicure from chipping and adds shine to nails. Do not skip it unless you do not want your nails to last long. Be careful when you put on your topcoat because a messy application can ruin your entire manicure.
Step 10: Clean your rough edges and let your nails dry
Tidy up the smudges, mistakes, or wobbly edges by wrapping a piece of cotton ball soaked in nail polish remover around the end of your cuticle stick and carefully trace around your nails.
Well, there you have it ladies a 10-step guide on how to do your own manicure at home. I will see you next week, don’t forget to catch this week’s episode of Nails and Cocktails.


